navigation bar


Showing posts with label digital art. Show all posts

Wednesday, October 21, 2015

One Little Word 2015 Update

10 weeks left in the year. I can hardly believe it!

Frankly, I'm impressed that I've stuck with my scripture sunday goal this long and am getting giddy just thinking about how close to the end I am! 

Thoughts 42 weeks in:
  • I love this project
  • I don't know if I'll do it next year, maybe similar but with a twist
  • I appreciate how my word is made new each week - I'm the type of person that loves change and thrives on the chance to "mix it up" and look at something from a new angle
  • I can't wait to order my book!
Progress Report
I was working to update my Artifact Uprising file so that I would've get too far behind. In doing so I realized that I'd missed a few and started digging through my archives. Enter chaos. It was a mess so i decided to start back at the beginning and check over everything.


I made a spreadsheet and entered all the Sundays for 2015. Next I went through my blog/instagram and noted all of the hashtags and verses. I was surprised to realize that only a few verses have been repeated! It was also really fun to look back over the verses and reread some of them.


Once I had this list up to date I was able to figure out which photos were missing in my book. If I hadn't started the book so long ago, I probably wouldn't be doing it. The idea of trying to find all of those photos would be overwhelming, however since I started early in the process, it's been really fun!

All in all I still love my word (for it's versatility) and though I've been a little hit or miss lately, I am still enjoying the projects I'm using to reflect on my word. I have also been revisiting my pinterest board and adding a few inspiring images, hoping to finish the year strong. 

Thursday, July 9, 2015

Digital Art Project no. 2

A few weeks ago the youth group went on a mission trip. I wasn’t able to join them but to offer my support, I made them a devotional guide for their reflection time.

It was the perfect little project to help me feel supportive and to equip the kids process what they experienced. We called is a Missional Learning Trip to help them focus on learning from the people they worked with and not just on the physical work we did at the farm.

The youth director gave me free reign so I chose a simple half fold booklet style with lots of space to journal and doodle. The arrows are from a free digital download online and the fonts I used are as follows:

Cover Title, Day #: Reprise Title (from Sibelius music program)

Cover Script: Sunshine in My Soul

Daily Schedule, Bible Verses, Reflection Questions: American Typewriter (free with Mac, similar to Courier New)


The format here is how I created it in Pages. Each page was printed double-sided and then they were stacked, folded, and stapled down the middle. Super simple (once you figure out the order of the pages)!


I love these types of projects and heard that at least one student really enjoyed the chance to reflect on the verses and the daily events.

Wednesday, July 8, 2015

One Little Word Wednesday

I forgot to bring colored pencils with me on our trip to the ocean. Though I love the power of black and white, I decided this one could use a little color for added emphasis. So I took a photo of my page and converted it to balk and white.

Before

Then I imported the photo in an app on my iPad called Annotate+. It has highlighting tools, text, etc. that I've previously used to annotate PDFs. I used the highlighters to trace over certain parts and here's what I ended up with.

After
Kind of a fun way to add color without committing. I might leave the page black and white for now but I love that I have some options.

This is my scripture verse for the week and it seemed appropriate as I sat on the beach listening to the powerful roar of the waves.


Thursday, July 2, 2015

Digital Art Project no.1

A colleague and friend of mine is moving away so we decided to put together a book of notes and bible verses for her. To fancy them up I digitized most of them so there was a cohesive look to the book. I broke my project down into 4 steps that I use with most digital project, with examples.

Choose a Size
For this project I chose to make each card 4”x6” because:
  1. I could use a photo album to put the cards inside, and she can add photos to it in the future
  2. This is a standard size of index card/photo paper for people to make their own cards if desired.
  3. I could print 2 cards per 8.5”x11” sheet of paper or 6 from a 12”x12”
Choose a Format
The idea for the cards was for people to share a bible verse and possibly a personalized note to her or about why they chose the verse so I broke it down into these parts:
  1. Bible Verse Location (ex: John 3:16)
  2. The verse
  3. Personal Message
  4. Signature
Choose 2 Fonts
Two fonts is a standard in the typography world (at least from my experiences). Typically you choose one with a serif and another without. Free Fonts are easy to find with a simple internet search.

  • The Message: I chose my friend’s favorite font (KG Beneath Your Beautiful) for the personalized notes because it looks handwritten. 
  • The Verse: Rather than choose a serif I decided to go for clean lines since the other font is rather busy. I simply varied the size of the font for the “title” so that it stood out a bit from the verse.
  • Signature: I ended up choosing a third font for the name so it looked like a signature. Breaking all kinds of rules here but it’s good to do it with intention :)

Choose Decorations
I wanted the book to have soft summery colors since it would be given to her in June, also the same month her first baby would be born. Here is the fun part! Pinterest and the internet are your friends here. Ready to get technical? Search for “free water color images” or “free digital scrapbooking art” and that’s it! In browsing you’ll see that there are many different templates and images available for your use. Once you download them, you can copy and paste the images into your document. Since this was a gift and not something I sold or made in mass production, I could use the images for free. The way I put them into my document is to make them an image that does not cause wrapping. In my program it looks like this and I will choose "None" at the bottom of the list which shows the image behind the text:
That way I can size it how I want, change the opacity and then put it behind the text. I try to not have too many words overlap so the image doesn’t take away from the message, but in some cases by making the opacity a low percentage (25% or so) I could make it faded enough to compliment the text. Perhaps a tutorial on this in the future, but hopefully that gets you started.

Here's a screenshot showing each of the elements I chose and the fonts/sizes I used.
So with a few text boxes made 4”x6” and some images layered underneath I was able to create beautiful cards for her book. I could’ve bound them into a mini book or put them in a box but this project seemed best in an album.


I’m excited to share some other digital art I worked on this spring including date night cards, a devotional and an end of the year gift for my students! Happy creating!


Wednesday, July 1, 2015

One Little Word 2015 Update

Halfway through 2015 and I'm proud to report that I've kept up with my OLW project of scripture sundays. Here is a word cloud I made using all the hashtags I've created from the scripture sunday posts.

I'm a little behind on updating the artifact uprising, but I feel confident about being able to add images regularly throughout the summer.

I was thinking I might try something different for the rest of the year, but instead i will stick with scripture sunday posts and hope to expand more on how that inspires me throughout the week.

Honestly, I'm impressed that I've stuck with it this much! Here are a few tips that have made me successful so far:

Lists
I have a list of verses that I find throughout the week which contain the word "be." This makes it easy to sift through and find one that feels right.

Procrastinate Plan
I DON'T make them ahead of time. So in a way I plan ahead, to make them Sunday morning. Perhaps surprising, but I really enjoy waking up on Sundays and getting to work on them. It's not a taxing activity and it's a great way to start the day. Also, at the end of a long week, I am sometimes looking for motivation and that will inspire me to find a scripture that will help me start the next week strong

Awesome Tools
iPad + Blogsy + A Beautiful Mess  + BibleGateway  = quickest
I don't always use these tools but most of this time I do. I use them with such regularity that it is quick and easy for me to find the words, pop them into a a template and post straight from my iPad.

Simple Simple Simple
Sometimes I get fancy and other times not. I don't have a template or any rules which gives me freedom!

Wednesday, April 8, 2015

documenting 2015

Over the last few years i've explored different ways of documenting the events of the year.

I did a scrapbook inspired by the Project Life craze for 2012. Then
for 2013 I actually used Project Life cards and dividers and even followed through!


Last year I didn't really do anything other than post a lot of pictures to Instagram. I entertained the idea of printing all my Instagram photos and making a book but never quite followed through.  I did keep up my ralvery.com page pretty well, posting pictures of the various projects.

This year I wanted to see if I could follow through with the Instagram idea so I've already begun compiling photos. To make the task manageable and give it a theme, I decided to use my scripture sunday photos/verses as the main subject of the book.

I've had success with a variety of online book printing companies but was eager to try artifact uprising. I heard an interview with the founders and really like the idea and story behind their company.

screenshot from artifactuprising.com


Every month I upload the scripture sunday photos from the previous month. I decided to do a square book but not all of my photos are squares so I played around with the layout tools and discovered an easy way to insert these photos onto the page layout without cutting any part off.

I love the simplicity of the layouts and options and there is even a way to connect your instagram feed to the site which makes uploading super simple. In fact, that 2014 book could be a quick project on a rainy afternoon and a great way to test out the service! I hope to write an update on this project in a few months.

Saturday, August 9, 2014

menu planning

As part of my reality check that the school year is just around the corner, I've been looking for go-to recipes. Meal planning helps me immensely, especially during extra busy seasons. I'm always searching for new inspiration. Here are a few recipes that look good as well as a free download!


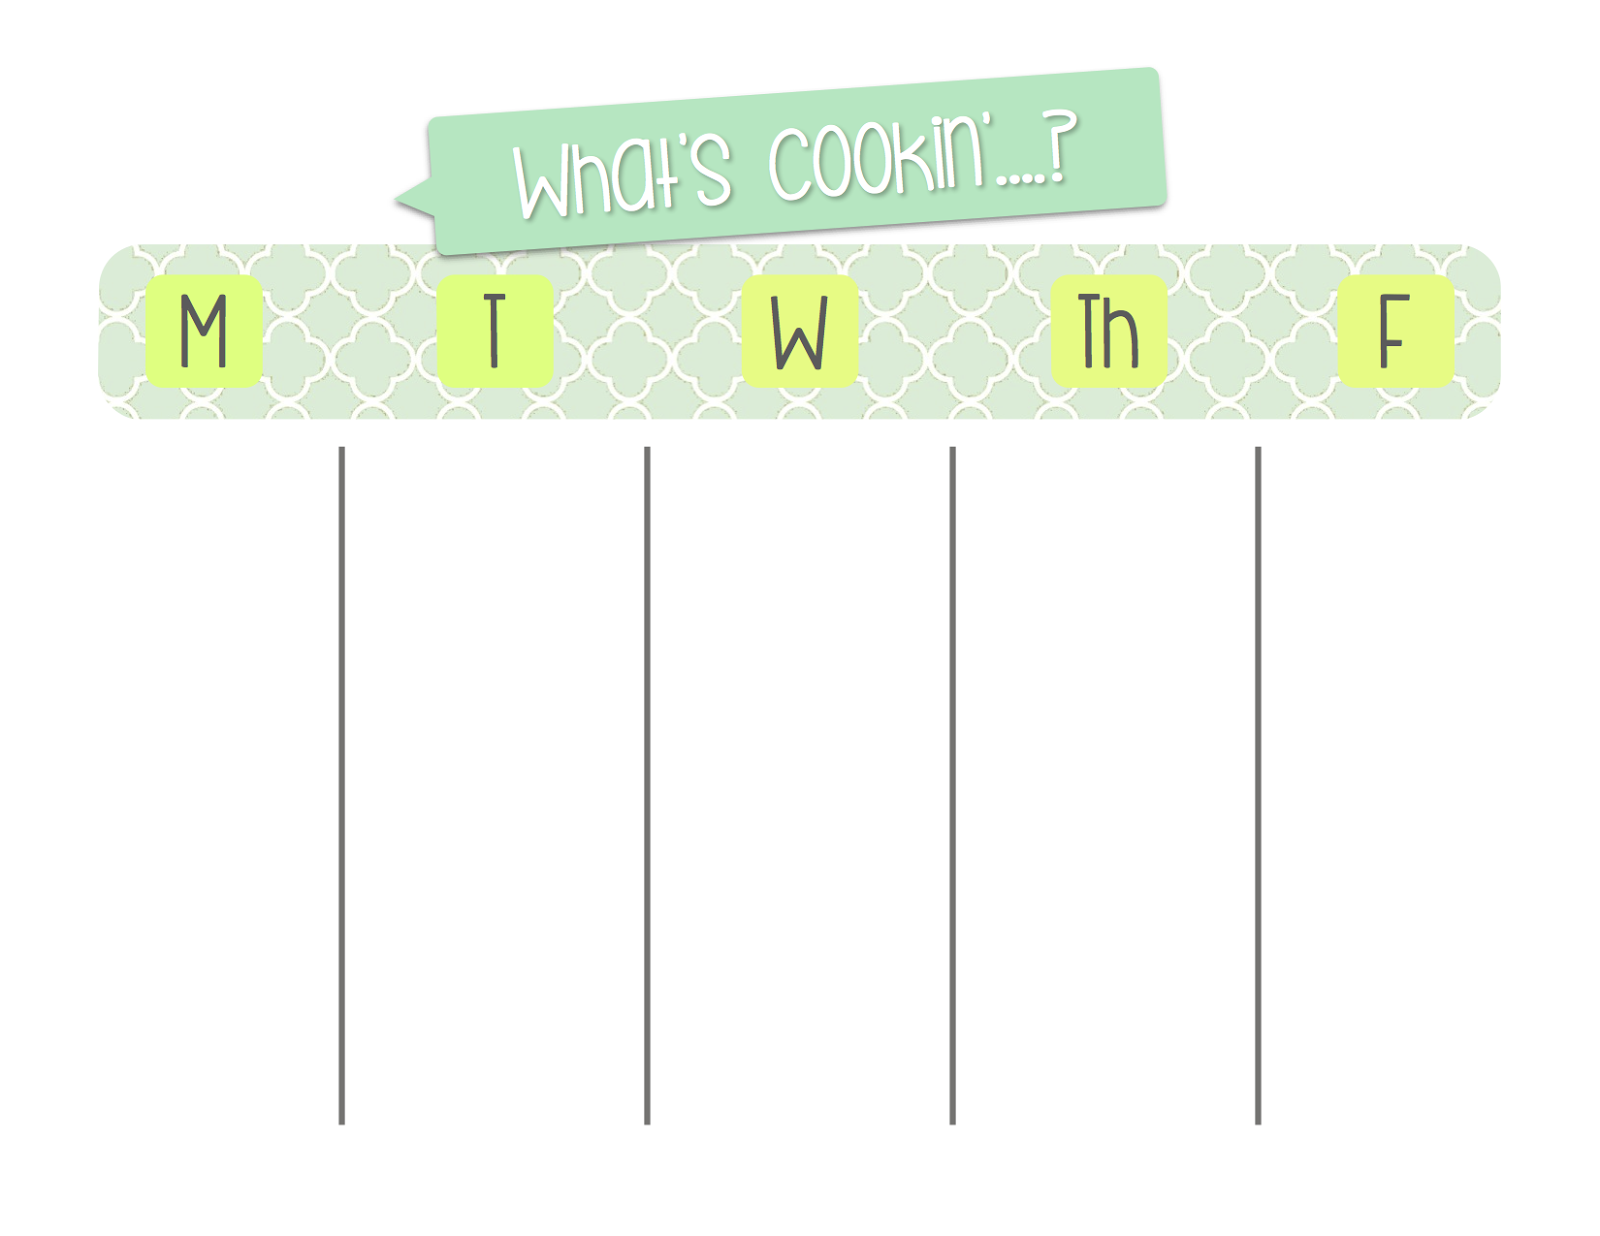
To help me stay motivated, I made a new template that I'm sharing (click on the image below). I made my menu for Monday through Friday with space to note breakfast, lunch and dinner. The columns hold 2"x1.5" post-it notes, which I use to write down the meal/recipe name. This makes it easy to reuse favorite meals from week to week or to switch them around should the plan need to change. I printed mine on a piece of card stock and then put it in a plastic page protector. This way I can reuse the same template until I need new inspiration :)

Don't worry, we eat meals on the weekend too, it's just more about leftovers and is much less structured.


Feel free to download or share your favorite meal planning ideas!

Friday, December 28, 2012

more project life prep

today i searched around some more blogs to get inspiration and ideas for making project life happen in 2013! Cathy Zielske has some great templates to help with cropping and prepping photos to be printed at home. After playing around with the templates and watching her videos i created some template additions of my own!

Cathy has some nice digital projects available (as do many other scrapbookers that I follow) and i loved her idea of using hashtags from twitter to overlay on photos that she uses for project life. I took a few of my current faves and made .png files out of them so that i could easily drop them on top of photos before printing.


here is an example after i dropped the .png file onto the photo, made it white and adjusted the opacity.

 
it is so simple and adds just a bit of fun to the photo :)

here are a few other tips i picked up along the way:

1. have everything easily accessible!
2. choose a day that you are regularly available to sit down and work on the week's layout.
3. organize your photos when you import them into folders by week, quarter and project life (or what ever system makes sense for you)
4. do what works for you, not necessarily what others are doing.
5. precut cards and have them ready to grab and go!
6. enJOY the process (i am REALLY looking forward to this part!)

Wednesday, December 26, 2012

creating

I've been occupied all night playing with my new toy: Project Life! I really wanted to dive in, so I began some prep work which will hopefully help me keep at it during the busyness that will surely hit once Christmas break is over.

I started by browsing the different kits and looking up some of the bloggers who have participated this year. I got some great ideas for how to document 2013 and in the end, I was inspired to make some cards if my own!

Here are a few photos S took for me. I created the cards with Adobe Photo Shop Elements and Apple's Pages program (Word equivalent). After inbuilt the images, I printed them at home on white card stock. So simple and VERY fun! Looking forward to dreaming up some more design ideas and color schemes.

**the calendar cards were inspired by http://paisleepress.com/. I made my own template and cards for 2013 using Liz's design scheme and Helvetica Neue.

**the font for the "jot a thought" card is the Becky Higgins Script font found at http://www.creatingkeepsakes.com/articles/CK_free_fonts

Thursday, December 20, 2012

christmas greetings

One of the advent activities was to make a Christmas card. I'm of the paper and glue variety while the hubby is more partial to the digital world. So here's what we came up with!

Truth is, making a card like this is not an easy task. Two creative minds working late at night to summarize a year worth of events and compose seasonal wishes onto the back of a postcard... lets just say it's risky. No lie, we took a day to think it over before committing to our order and it was totally worth it.

Yes, I love to make cards, cutting, trimming, glueing and rearranging to find just the right layout. But more than making cards, I love that we can share the joy of sending cards and Christmas blessings. It's worth the effort & time, and a tradition worth carrying on!

Merry Christmas!

Spoiler alert: those who see us most often will not be receiving this card, as they get to experience our faces in real life. Instead, they should look forward to a paper and glue version of our Christmas greetings!

Saturday, May 5, 2012

national scrapbooking day!

Happy national scrapbooking day!
Inspired by the holiday, a (fairly) free saturday, a new book and a need to get April in the book I am gear up for some editing, storytelling, printing, cutting, pasting & embellishing.

two 4"x6.5" layouts in progress.

Friday, April 13, 2012

Jess Creating (finally!)

Have you seen Project Life? I have really enjoyed seeing the layouts and reading the stories of bloggers who are participating. As they all decided to participate, I had a brief thought of joining in, but the idea of weekly setting aside the time to look through & print photos as well as document the story of our lives... I fell asleep from exhaustion just thinking about it.

But as the year has progressed different people have talked about how they facilitate the process. Some do a little every day, others set aside on day a week to put it all together.

Enter spring break.

Maybe it's the sun, maybe it's a few days off but I was suddenly inspired to DO something with all the pictures and cards and things i've been keeping. I love making mini books, but it didn't feel right this time. So I impulse bought a fun yet inexpensive photo album at target and decided to just dive in. I am not going back and documenting each week of the year, but with instagram and slice of life, i knew I had enough to put together some monthly layouts.

So far, it has been a blast! I've printed all the photos as home using iphoto contact sheets (elise has a great video here) or pages. I created a few templates in pages to help me print and organize for march. Since i posted nearly every day I thought it would be fun to print off the posts and images for the book. Here are some shots from what I did today.
cover, close up of blog posts, close up of collage, march intro page, blog post layout zoomed out


Three days later and I'm all caught up. I've used supplies that have been collecting dust, used photos that were just taking up memory on my phone and put my pen to paper. Even if it doesn't last the entire year, it will be fun to look through and I've eliminated a few more piles.
  

Friday, February 3, 2012

Bad news is that I found a new time-sucker. Good news is that it didn't cost a thing :)a little color

Thursday, December 15, 2011

holiday cheer

It’s been way too long since i blogged, but I AM creating some great blog worthy things, so after this weekend, it’s gonna get real in here!

Happy almost weekend!